


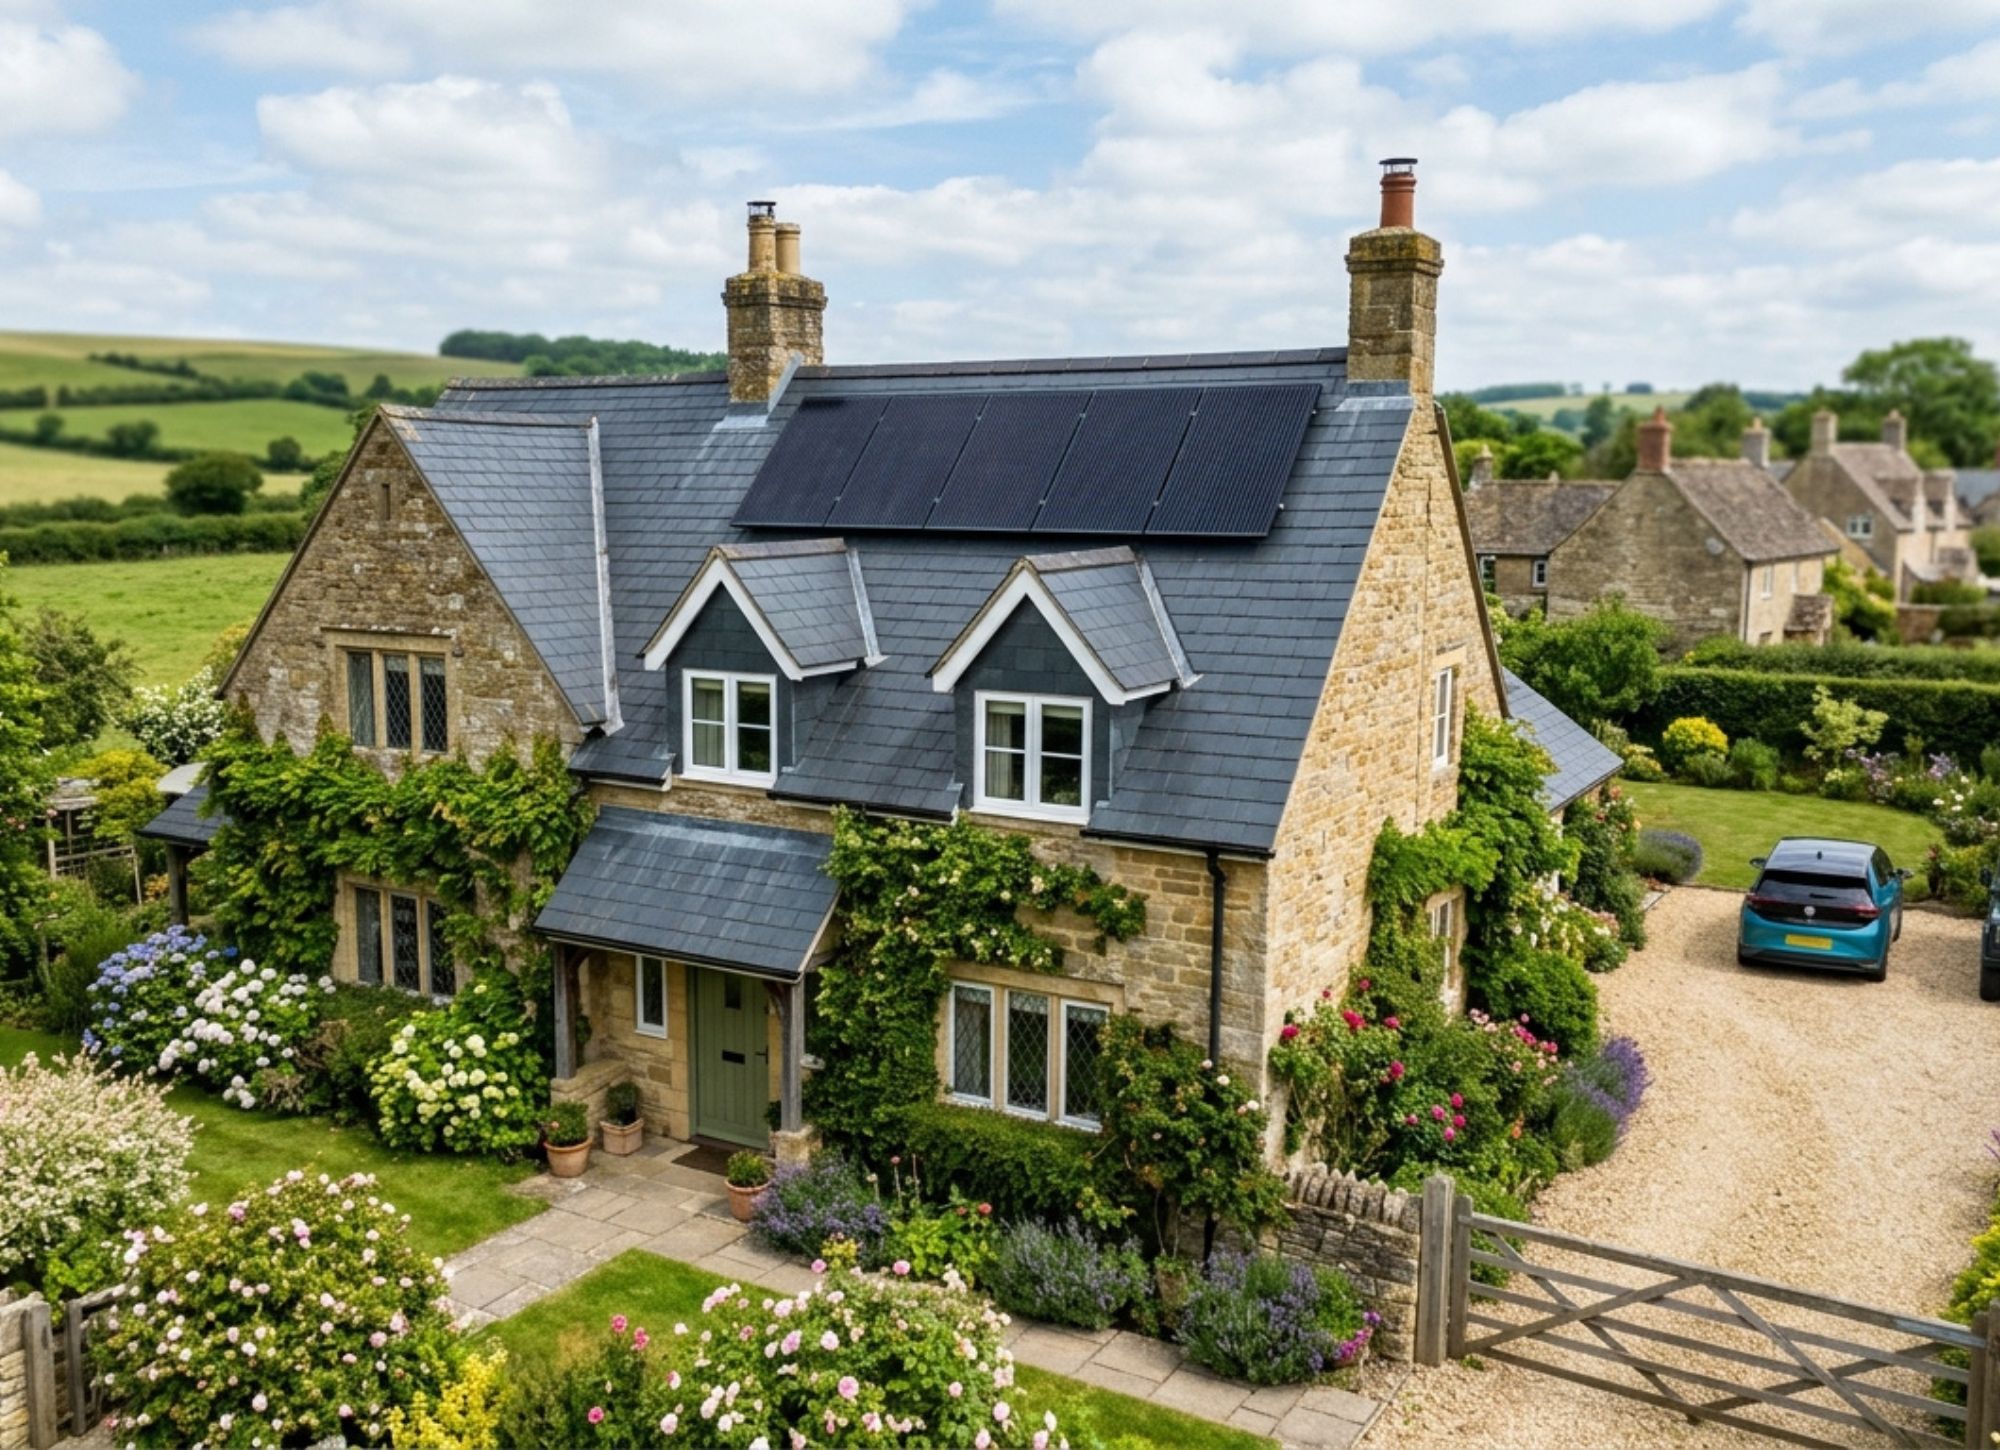
Can You Install Solar Panels On A Dormer Roof: Costs, Pros and Cons
Yes, you can install solar panels on a dormer roof. Flat-roofed box dormers can take panels on tilted frames, pitched dormers can take panels on their slopes, and the main roof either side of the dormer can often be used too. A typical dormer installation costs around £4,200 to £5,500 for panels on the dormer alone, or £5,500 to £8,000 when combined with the main roof.
If you’ve had a loft conversion, or you’re planning one, you’ve probably wondered whether a dormer gets in the way of going solar. It’s one of the most common questions we’re asked in London, Brighton and Bristol, where rear box dormers are on thousands of terraced houses. The short answer to “can you install solar panels on a dormer roof?” is yes, and in many cases the dormer’s flat top is one of the best spots on the house for them.
That said, dormers come with their own quirks. There’s less space, the roof covering is often felt or rubber rather than tiles, the dormer can cast shade on the main roof, and getting scaffolding to the back of a terrace takes some planning.
In this guide we’ll walk through the pros and cons, what to check first, how installers actually fit panels to a dormer, what it costs, and what you can expect to save, for homeowners and landlords across Southern England, Greater London, South West England and South Wales.
Can you install solar panels on a dormer roof?
You can install solar panels on a dormer roof, and it’s a very common job for professional installers. How it’s done depends on the dormer. Flat box dormers take panels on low tilted frames, while pitched dormers take panels fixed directly to their tiles or slates, just like a standard roof.
Most homes with a dormer end up with one of three layouts:
- Panels on the dormer only: usually 4 to 8 panels on a flat rear dormer, giving roughly 2 to 3.5kW.
- Panels on the main roof beside or in front of the dormer: common on the front slope of terraces with a rear loft conversion.
- A mix of both: panels on the dormer plus the remaining main roof, which is often the best way to reach 3 to 4kW on a smaller house.
The right choice depends on which way each surface faces, how much shade the dormer casts, and the condition of the roof.
Pros & Cons of Installing Solar Panels on a Dormer Roof
Here’s a quick summary of the main benefits and drawbacks we see when fitting panels to dormers.
| Pros | Cons |
|---|---|
| Flat dormers let panels be angled south, whichever way the house faces | Limited space means fewer panels than a full roof slope |
| Rear dormers are hidden from the street, which helps in conservation areas | The dormer can shade nearby panels on the main roof |
| Puts otherwise unused roof space to work | Felt, rubber or fibreglass roofs need extra care to stay watertight |
| High position often avoids shade from trees and buildings | Tilted frames catch more wind, so fixings need careful design |
| Panels shade the dormer roof, helping keep a loft room cooler | Rear scaffolding on terraces can be awkward and costly |
| Cheaper to add during a loft conversion, with scaffolding already up | A worn roof covering may need replacing first |
Wondering whether your dormer is suitable? EE Renewables provides expert solar panel installation and solar battery storage installation across Southern England, Greater London, South West England, and South Wales, including areas like London, Brighton, Oxford, Southampton, Bristol, and Cardiff. Get in touch today for a free survey tailored to your location.
What factors should you consider before installing solar panels on a dormer roof?
The factors to consider before installing solar panels on a dormer roof are the type of dormer, how much space and sun it gets, the strength and condition of the roof, and practical issues like planning rules and access. Here’s what we look at on every survey.
Type of dormer
Flat box dormers are the easiest to work with, because panels can be angled on frames to face the best direction. Pitched, gable and hipped dormers have small sloping faces that may only take one or two panels each. Tiny eyebrow or bonnet dormers are rarely worth using.
Read our guide on the best angle and direction for solar panels.
Available space
A typical rear box dormer on a London or Bristol terrace has room for around 4 to 8 panels once safe margins from the edges are allowed. That’s roughly 2 to 3.5kW. If you want more, combining the dormer with the remaining main roof usually makes the biggest difference.
Direction and tilt
On a pitched roof, you’re stuck with the direction the roof faces. On a flat dormer, panels can be tilted towards the south at around 10° to 15°, or laid out in an east-west arrangement at a lower angle. A lower tilt reduces wind load and lets more panels fit, for only a small drop in output.
Shading from the dormer itself
A big box dormer can cast a shadow over the main roof slope next to it, especially in the morning or evening. If panels will sit near the dormer, optimisers or microinverters let each panel work independently, so a shaded one doesn’t drag down the rest.
Structure and weight
Solar panels weigh about 20 to 25 kg each, plus the mounting frame. Some flat roof systems also use ballast weights instead of fixings, which adds more load. Dormers built as part of a modern loft conversion are usually strong enough, but older or poorly built dormers may need a structural check first.
Condition of the roof covering
Flat dormer roofs are usually covered with felt, EPDM rubber or GRP fibreglass. If the covering is near the end of its life, it’s far cheaper to replace it before the panels go on than to remove the panels later. We’ll also check whether fixing through the covering could affect any roof warranty.
Wind exposure
Dormers sit high on the roof, where the wind is stronger. Tilted panels act a little like a sail, so installers must calculate wind loads and keep panels back from the edges. Homes on exposed coastal sites in Brighton, Cornwall or the Welsh coast need particular care.
Planning rules and conservation areas
Most dormer installations are permitted development, but listed buildings and some conservation areas have stricter rules. Rear dormers, which can’t be seen from the street, are usually easier to approve than front slopes.
Access and scaffolding
Getting scaffolding to a rear dormer on a terrace can mean going through the house, using a neighbour’s garden or a narrow side passage. We plan access early so there are no surprises on installation day.
Where the inverter and battery will go
A loft conversion often takes away the loft space where an inverter would normally sit. We’ll find another spot, such as a cupboard, garage or outside wall. Fire safety guidance also restricts where home batteries can go, which we cover later.
How are solar panels installed on a dormer roof?
Solar panels are installed on a dormer roof in a series of careful steps, from an initial survey through to fitting a mounting system that suits the dormer’s shape and covering, then wiring, testing and certification. Here’s how a professional installation normally runs.
Survey and roof assessment
An installer visits to measure the dormer and main roof, check which way each surface faces, and look for shade from chimneys, trees and neighbouring dormers. They’ll also inspect the roof covering, the structure underneath and how scaffolding can reach the dormer.
System design and output estimate
Next, the installer designs the panel layout, chooses the mounting system and picks a suitable inverter. You’ll receive an MCS output estimate showing how much electricity the system should produce each year, along with a clear quote.
Structural and wind checks
For flat dormers, the installer works out the wind load and the weight the roof can safely carry. This decides whether the panels are fixed through the roof, held in place with ballast, or use a mix of both. Older dormers may need a structural engineer’s sign-off.
Planning checks and grid notification
The installer confirms whether the work falls under permitted development or needs consent, which is more likely in conservation areas or on listed buildings. They’ll also notify your local network operator, or apply for approval if the system is large enough to need it.
Scaffolding and safe access
Scaffolding goes up a day or two before installation. On terraced houses this often means a rear scaffold reached through a garden or passage, or a tower scaffold for smaller jobs. Edge protection is essential, because dormer roofs are small and high.
Fitting the mounting system
On a pitched dormer or main roof slope, roof hooks are slipped under the tiles or slates and fixed to the rafters. On a flat dormer, a low-profile frame is either fixed through the covering using sealed brackets, or held down with ballast on protective mats. Any fixing through felt, rubber or fibreglass must be properly sealed to keep the roof watertight.
Mounting the panels
The panels are clipped onto the rails and spaced to avoid shading each other. On flat dormers, rows are angled at around 10° to 15° and kept back from the edges to reduce wind lift. Bird mesh can be added around the edges to stop pigeons nesting underneath.
Wiring, inverter and battery
Cables run from the roof into the house, usually through a neat entry point and down to the inverter. In a loft conversion, cables are routed carefully so they don’t spoil the finished room. The inverter, and any battery, goes in a safe, suitable spot, such as a cupboard, garage or outside wall.
Testing, commissioning and handover
Finally, the system is tested, switched on and connected to its monitoring app. You’ll receive an electrical installation certificate, an MCS certificate for export payments, and warranty paperwork. The scaffolding is then taken down.
How much does it cost to install solar panels on a dormer roof?
It costs around £4,200 to £5,500 to install solar panels on a dormer roof alone, or £5,500 to £8,000 when the dormer is combined with the main roof for a 3kW to 4kW system. Adding a 5 kWh battery typically brings the total to £8,500 to £11,500. All prices include 0% VAT.
| Installation | Typical size | Typical installed price (0% VAT) |
|---|---|---|
| Panels on a flat dormer only (4 to 6 panels) | 2 to 2.6kW | £4,200 to £5,500 |
| Panels on a large flat dormer only (7 to 8 panels) | 3 to 3.5kW | £5,000 to £6,500 |
| Dormer plus main roof slope | 3 to 4kW | £5,500 to £8,000 |
| Dormer plus main roof with a 5 kWh battery | 3 to 4kW | £8,500 to £11,500 |
These are approximate prices based on typical jobs in our region. We’ll confirm your exact price after a free survey.
Extra costs specific to dormers
Dormer installations sometimes need a few extras that a standard roof wouldn’t:
| Extra | Typical cost |
|---|---|
| Tilted mounting frames for a flat dormer roof | £300 to £800 |
| Structural check, if needed | £250 to £600 |
| Rear scaffolding on a terraced house | £600 to £1,500 |
| Optimisers to manage shade from the dormer | £300 to £700 |
| Bird mesh around the panels | £300 to £600 |
| Replacing a worn flat dormer roof covering first | £1,500 to £4,000 |
Why dormer installs can cost a little more per panel
Scaffolding, labour and paperwork cost roughly the same however many panels you fit. On a small dormer with only a handful of panels, those fixed costs make up a bigger share of the bill. That’s why combining the dormer with the main roof is often better value.
0% VAT until March 2027
Solar panels and batteries installed on homes in Great Britain currently carry 0% VAT. The relief is due to run until 31 March 2027, after which it’s set to rise to 5%.
Which types of dormer are best for solar panels?
The types of dormer best for solar panels are flat-roofed box dormers and wide shed dormers, because they offer a decent, unshaded surface that panels can be angled on. Small pitched and decorative dormers are usually better left alone, with panels going on the main roof instead.
| Dormer type | Common in | Suitability for solar |
|---|---|---|
| Flat-roofed box or rear dormer | Victorian and Edwardian terraces in London, Brighton and Bristol | Very good: room for 4 to 8 panels on tilted frames |
| L-shaped dormer | London terraces with a back addition | Very good: two flat sections can take more panels |
| Shed dormer (single shallow slope) | Semis and bungalows | Good if the slope faces south, east or west |
| Gable-fronted dormer | Older cottages and 1930s semis | Limited: small slopes, often just one or two panels |
| Hipped dormer | Bungalows and detached houses | Limited: several small faces, heavy shading between them |
| Mansard roof | Georgian and Victorian townhouses, especially in London | Possible on the flat top, but often in conservation areas |
| Eyebrow or bonnet dormer | Period and thatched properties | Rarely suitable |
Box dormers
The classic flat-roofed box dormer is the easiest to use. Its flat top can take panels on low frames facing south, whatever direction the house faces. Rear box dormers are also hidden from the street, which is a real advantage in many conservation areas.
Pitched and hipped dormers
These have small sloping surfaces broken up by ridges and valleys. There’s rarely room for more than a panel or two, and each face gets sun at different times. It’s usually better to focus on the main roof slopes around them.
Mansard roofs
Mansard roofs have a steep lower slope and a nearly flat top. The flat top can often take panels on low frames, set back from the edges so they’re hard to see from the street. Mansards are common in conservation areas across central London, so planning checks are especially important.
How much electricity can solar panels on a dormer roof produce?
Solar panels on a dormer roof can produce around 1,800 to 2,600 kWh a year from a dormer-only system in the South, or 3,500 to 4,100 kWh when combined with the main roof. That’s enough to make a noticeable dent in a typical home’s electricity bill.
| Setup | Approximate yearly output | Typical yearly savings |
|---|---|---|
| 5 panels (2.2kW) on a flat dormer, tilted south, London | 1,850 to 2,050 kWh | £300 to £400 |
| 7 panels (3kW) on a flat dormer, east-west layout, Bristol | 2,350 to 2,600 kWh | £380 to £480 |
| 4kW across a flat dormer and south-facing main roof, Brighton | 3,800 to 4,100 kWh | £450 to £700 |
Savings combine lower bills with Smart Export Guarantee payments and assume no battery. With a battery and a smart tariff, savings typically rise by £250 to £400 a year. Most dormer systems pay for themselves in around 9 to 15 years.
How tilt affects output on a flat dormer
Panels tilted south at 10° to 15° on a flat dormer produce around 90% to 95% of what they’d make at the ideal angle. An east-west layout at a lower tilt produces about 80% to 85%, but lets you squeeze more panels onto a small roof, so total output can end up similar.
Why a flat dormer can beat the main roof
If your main roof faces east, west or even north, a flat dormer lets you point panels towards the south instead. For some homes, that makes the dormer the most productive surface on the whole house.
Should you add solar panels when building a dormer or loft conversion?
Adding solar panels when building a dormer or loft conversion is usually the best time to do it. The scaffolding is already up, the roof is open, and cables can be hidden inside the new walls before they’re plastered, which saves money and gives a neater finish.
Savings from doing it at the same time
Sharing scaffolding with your builder can save several hundred pounds, and sometimes over £1,000 on a terraced house. Your roofer can also leave the dormer’s flat roof ready for a mounting system, with reinforced areas or pre-planned fixing points.
In-roof panels
If you’re re-roofing the main slope or building a pitched dormer, in-roof panels are worth considering. They replace some of the tiles and sit flush with the roof, giving a sleek look that can suit sensitive properties. They usually cost £500 to £1,500 more than standard on-roof panels, and they’re easiest to fit while the roof is being built.
Read our guide on in-roof vs on-roof solar panels.
Planning the loft room around solar
Tell your architect or builder early that you’d like solar. They can leave space for cable routes, keep roof windows clear of the best panel areas, and plan a spot for the inverter now that the loft is becoming a living space.
Coordinating trades
We’re happy to work alongside your builder or loft conversion company. Getting the timing right means your panels go on once the dormer roof is finished and watertight, but before the scaffolding comes down.
Do you need planning permission for solar panels on a dormer roof?
You don’t usually need planning permission for solar panels on a dormer roof, because most home installations count as permitted development. The main exceptions are listed buildings, some conservation areas and flats.
Permitted development rules
On pitched roofs, panels shouldn’t stick out more than 20cm from the roof surface. On flat roofs, including most dormers, there are separate limits on how high tilted panels can stand and how far they must be set back from the edge.
These rules have been made more flexible in England in recent years, but they’re specific, so we check them for every flat dormer job. In all cases, panels shouldn’t sit higher than the highest part of the roof, not counting the chimney.
Conservation areas and listed buildings
Listed buildings almost always need listed building consent. In conservation areas, which are common in parts of London, Brighton, Bath and Oxford, stricter rules apply to panels that can be seen from the street. Rear dormers are often less of an issue, but some areas have extra controls, so we check with the local council when needed.
Flats and converted houses
If your loft conversion is part of a flat or a house split into flats, you’ll usually need the freeholder’s permission, and sometimes planning consent too.
Party walls and neighbours
On terraced and semi-detached homes, panels are normally kept a safe distance from the party wall line, in line with fire safety guidance. Fitting panels doesn’t usually trigger the Party Wall Act, but if scaffolding needs to go on a neighbour’s land, you’ll need their agreement first.
Building regulations and grid notification
The electrical work must meet building regulations, and your installer should register it and give you an electrical installation certificate. Most dormer systems are small enough for a simple G98 notification to your network operator after installation, with no approval needed in advance.
Can you add a battery to solar panels on a dormer roof?
You can add a battery to solar panels on a dormer roof, and it often makes a lot of sense. Dormer systems are small, so a modest battery of around 5 kWh can store most of your spare daytime solar for the evening.
Where the battery can go
UK fire safety guidance for home batteries says they shouldn’t be installed in escape routes like hallways and stairwells, under the stairs, in lofts or in bedrooms. With a loft conversion, the loft room is off the list, so batteries usually go in a garage, on an outside wall, or in a suitable utility room or cupboard. We’ll find the safest option on your survey.
What it costs
Fitted at the same time as your panels, a 5 kWh battery typically adds around £2,500 to £3,500. That’s cheaper than adding one later, because one hybrid inverter can run both, and you only pay for one installation. Read our guide on solar battery costs.
Getting more from a small system
A battery also lets you charge from the grid overnight at cheap smart tariff rates and use that power in the evening. That keeps it useful through the winter, when a small dormer system produces much less.
Backup during power cuts
Standard solar panels switch off during a power cut. Some batteries can keep selected circuits running, such as your fridge, lights and broadband. If that matters to you, let us know at your survey.
Is it worth installing solar panels on a dormer roof?
It’s worth installing solar panels on a dormer roof for most homes with a flat or wide dormer that gets decent sun. You’ll make use of space that would otherwise sit idle, cut your bills by a few hundred pounds a year, and often gain a south-facing surface your main roof can’t offer.
It’s a great fit if you:
- Have a flat box, L-shaped or wide shed dormer
- Want panels out of sight from the street
- Are building a loft conversion now, so scaffolding is already up
- Can combine the dormer with some of the main roof for a 3kW to 4kW system
Think carefully if you:
- Have a small pitched or decorative dormer with little usable space
- Have a dormer roof covering that’s near the end of its life, without budget to replace it
- Live in a listed building or a tightly controlled conservation area
Ready to book a free dormer roof solar survey with EE Renewables?
EE Renewables provides expert solar panel installation across Southern England, Greater London, South West England, and South Wales, including areas like London, Brighton, Oxford, Southampton, Bristol, and Cardiff.
Booking a free dormer roof solar survey is the easiest way to find out what your roof can really do. We’ll measure your dormer and main roof, check the structure, roof covering and shading, and plan safe access, then design a layout that makes the most of every surface.
Frequently Asked Questions
Will solar panels on a dormer roof cause leaks?
Solar panels on a dormer roof shouldn’t cause leaks when they’re fitted properly. On flat roofs, installers either use ballasted frames that don’t pierce the covering, or sealed brackets designed for felt, rubber or fibreglass. Ask your installer which method they’ll use and whether it affects any existing roof guarantee.
Can solar panels go on the sides of a dormer?
Solar panels can technically be fitted to the vertical sides, or cheeks, of a dormer, but it’s rarely worth it. Vertical panels produce far less electricity than angled ones, and wall-mounted panels face stricter planning rules, especially in conservation areas. The dormer’s roof or the main roof slopes are almost always a better choice.
Do panels on a flat dormer roof need cleaning more often?
Panels on a flat dormer roof may need cleaning a little more often than those on a steep roof. At low angles, rain doesn’t wash dirt and leaves away as easily. An occasional clean, perhaps every year or two, is usually enough, and more often if you live near busy roads or trees.
Can you keep roof windows on a dormer with solar panels?
Yes, you can keep roof windows such as Velux windows alongside solar panels on a dormer or loft conversion. Installers simply leave a gap around each window so it can still open and be maintained. If you’re still planning the loft conversion, positioning windows with solar in mind can free up more space for panels.
How long does it take to install solar panels on a dormer roof?
Installing solar panels on a dormer roof usually takes one to two days on site. Scaffolding normally goes up a day or two beforehand. From the first survey to switch-on, most dormer projects take two to five weeks, depending on scaffolding access and whether any planning checks are needed.
